Getting started
We will now see how SSIS Catalog Migration Wizard migrates SSISDB from one SQL Server to another in just a few clicks.
Table of contents
- Welcome Screen
- Choose Source
- Choose Target
- Select SSISDB Catalog Items to Migrate
- Customize Folder Mapping
- Replace Environment Variable and Parameter Values
- Overwrite Environment Variable Values
- Export Sensitive Data
- Complete the Wizard
- Monitor the Migration
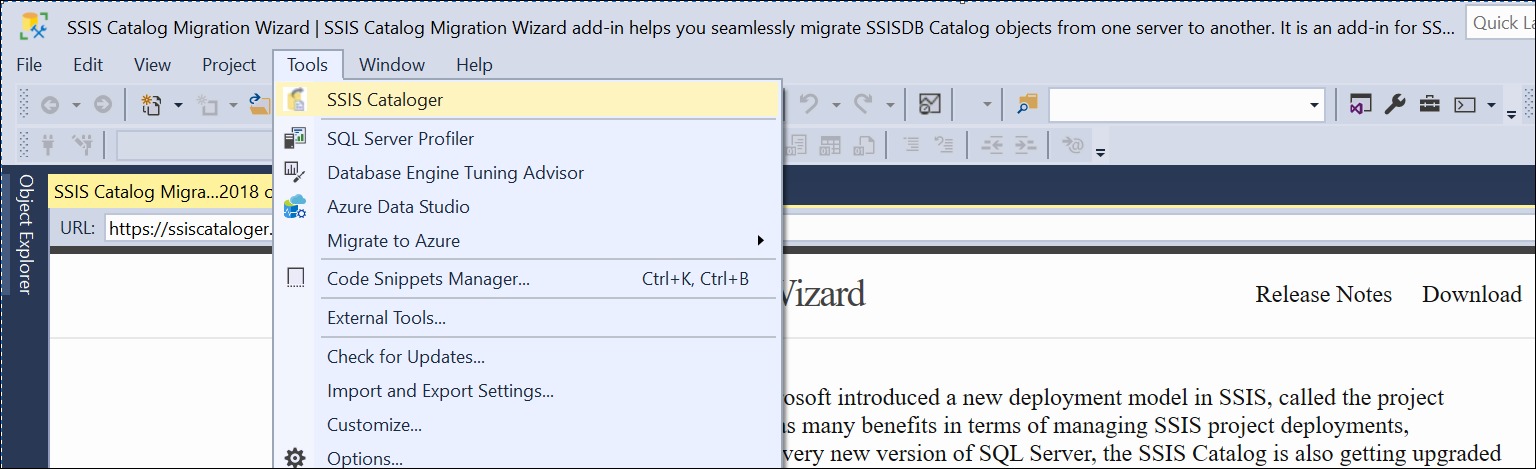
To start, launch the wizard from your preferred location.
Welcome Screen
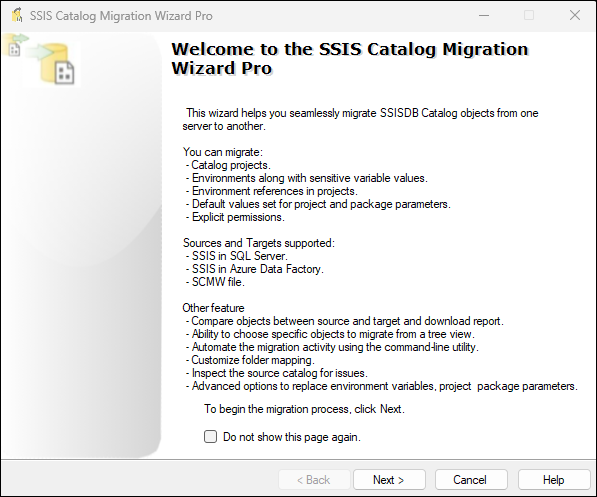
Click Next to continue.
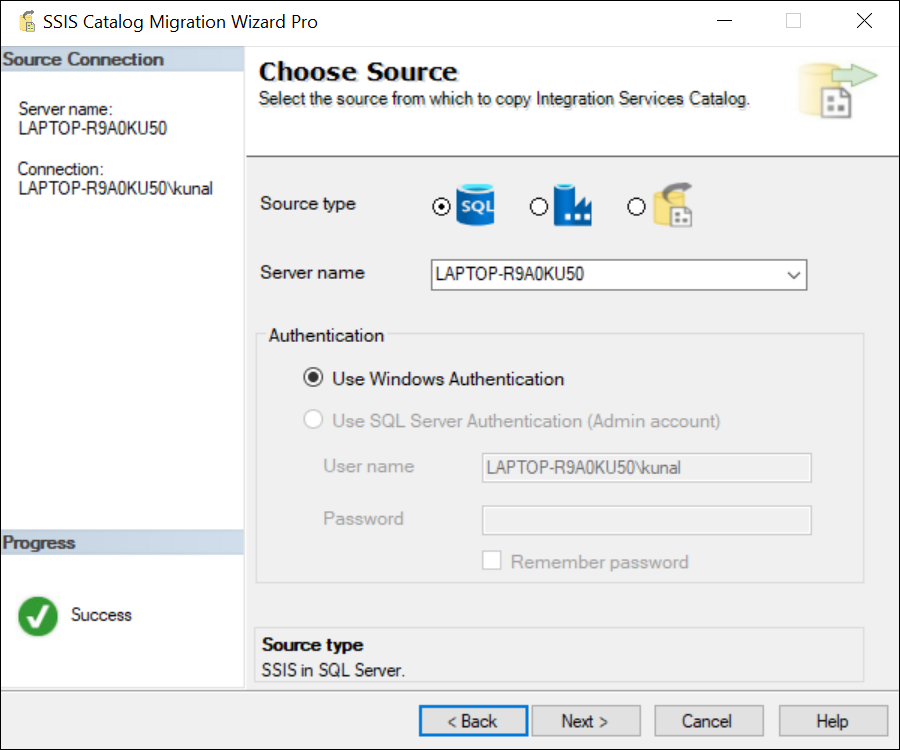
Choose Source
Choose the SQL Server radio button and then provide the SQL Server instance name. To perform operations on the SSIS catalog, we have to use Windows Authentication, and the user running this should have the ssis_admin role.
Choose Target
Choose the Azure data factory radio button for the target. Provide the Azure SQL Server hostname, admin SQL server authentication user name, and password.
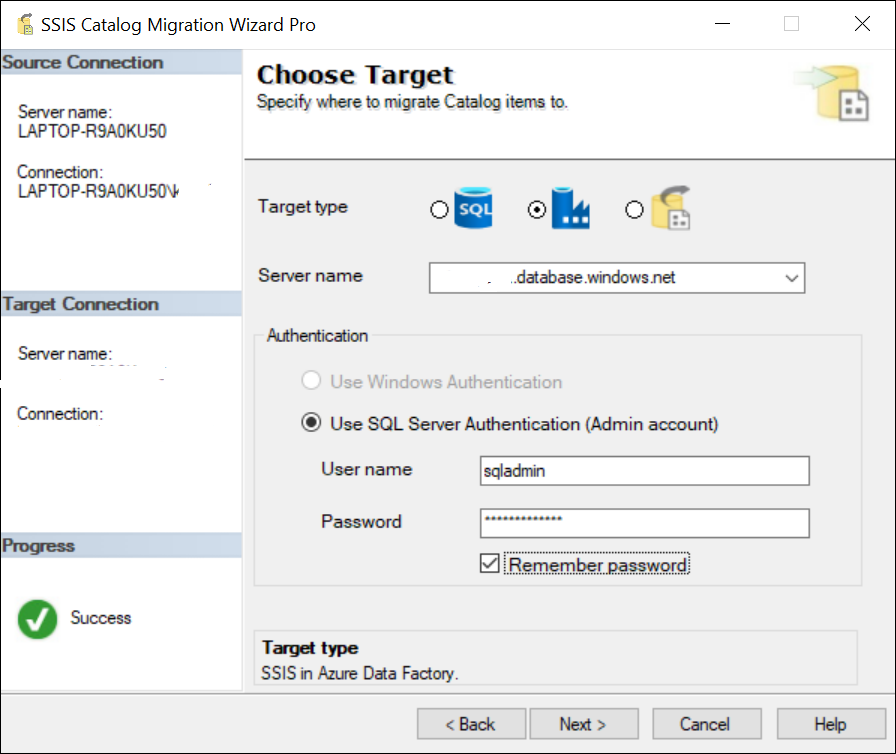
This utility only supports SQL authentication for the Azure SQL Server connection.
Select SSISDB Catalog Items to Migrate
Choose the catalog items from the Treeview.
Compare source & target
Compare source and target and choose to migrate only what has changed. For example, in the above image:
- Green items are present in the source and not present in the target,
- Red items mean source and target items are not the same.
- Unmodified items are displayed in the original color, and these objects are identical in the source and target
Migrate only configuration
You can use this option to migrate only the project references and parameter values. Simply select the checkbox to migrate only the configuration part without the project code (.ispac file). Keep in mind that if the source project is not present in the target, both the project and its configuration will be migrated.
Migration type
Migration types are copy and move. Select the move radio button to delete the source catalog after the migration. The default type is copy.
Migrate explicit permissions
Catalog folders, projects, and environments have explicit permissions. To migrate these permissions to the target, check the ‘Migrate explicit permissions’ checkbox screen.
Customize Folder Mapping
Easily map source and target its permissions’ checkbox folder names. The wizard populates all selected folder names in the Source and Target folder columns. If you wish to customize the folders, edit the value in the ‘Target Folder’ column.
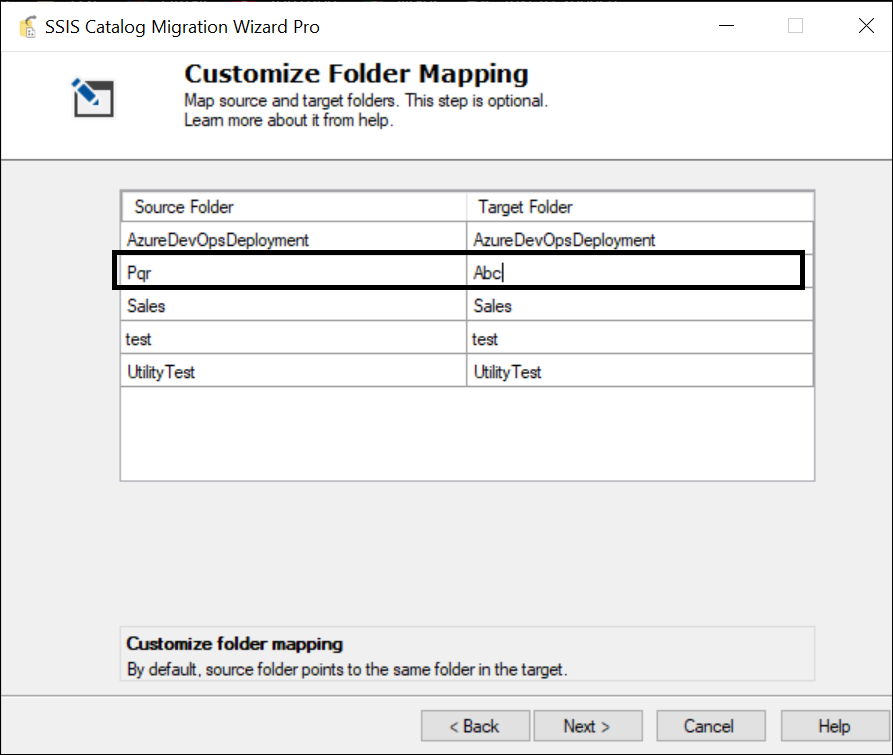
For instance, as shown in the above image, the wizard will copy the content of the source catalog folder Pqr to the target catalog folder Abc. This step is optional.
Replace Environment Variable and Parameter Values
Migrating SQL Server Integration Services (SSIS) projects often involve updating environment variables and parameter values to align with the target environment. SSIS Catalog Migration Wizard simplifies this process by prepopulating values from the source SSISDB and allowing users to modify them before migration.
Configuring key-value replacements
During migration, users can configure key-value pairs to replace specific values in environment variables and SSIS project/package parameters. The wizard includes a Suggest button, which provides recommendations based on the selected Replace Scope.
To review the affected environment variables and parameters, users can click on the Ref column, which displays detailed mappings. This helps ensure that the necessary updates are applied correctly in the target system.
Example: Updating a SQL Server connection string
One common scenario is updating a SQL Server connection string when migrating SSIS packages to a new environment. For example, consider the following connection string in the source environment:
Source connection string:
Data Source=sql-dev.database.windows.net;Initial Catalog=SourceDB;User ID=OldUser;Password=OldPassword;
If the target environment uses a different server and credentials, you can configure the wizard to replace these values:
Target connection string:
Data Source=sql-test.database.windows.net;Initial Catalog=TargetDB;User ID=NewUser;Password=NewPassword;
By defining this key-value replacement, the wizard ensures that all references to the old connection string are updated automatically, reducing manual intervention and minimizing potential errors.
Use Case: Setting up a parallel environment
This feature is handy when establishing a parallel environment for ETL workloads. When migrating SSIS projects, configurations like connection strings, file paths, or authentication details often differ between environments. Updating these settings during migration ensures SSIS packages run smoothly in the new setup without requiring additional post-migration modifications.
Optional but valuable configuration
While updating environment variables and parameter values is an optional step, it is highly recommended when configuration differences exist between the source and target environments. By leveraging the SSIS Catalog Migration Wizard, users can efficiently adjust necessary values, reduce post-migration issues, and ensure seamless execution of SSIS packages.
Overwrite Environment Variable Values
The Overwrite environment variable values setting recreates environment variables and parameter default values in the target.
Using this setting will recreate the target SSIS environment variables. You would lose existing target environment variable values in this case.
Export Sensitive Data
This setting applies to exporting SSIS Catalog items to a .SCMW file. SCMW export file is not encrypted. When the Export sensitive data setting is set, the wizard exports sensitive information in the export file as free text.
Complete the Wizard
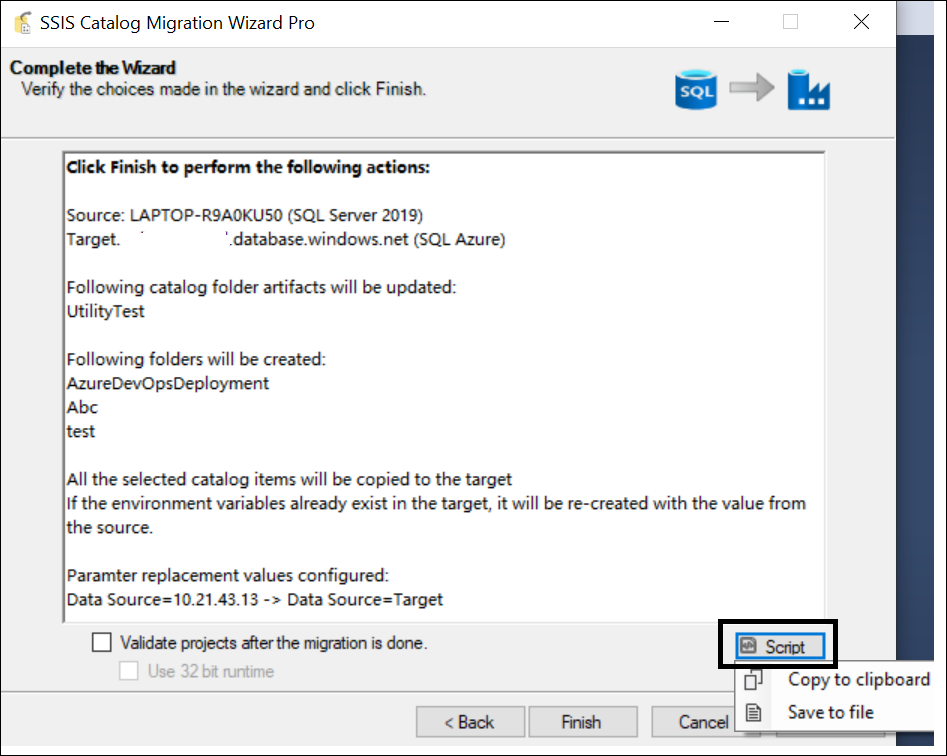
Review the deployment summary And if everything looks ok, click Finish.
Monitor the Migration
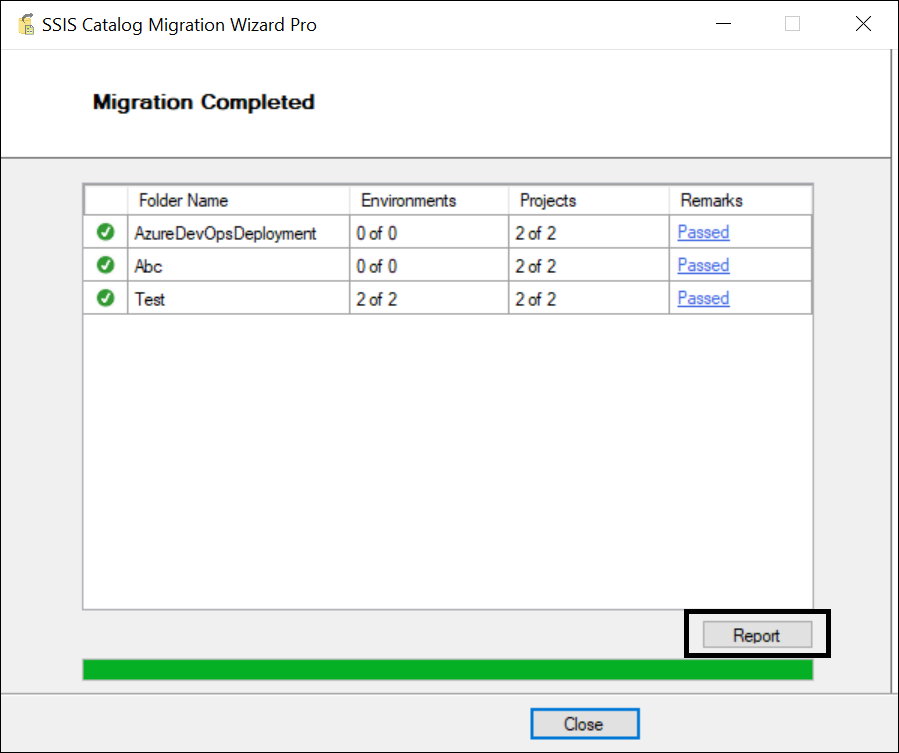
Any warning or error during the migration gets shown next to the respective folder in the Result column tooltip of the grid. The success items are all noted as “Passed” in the above image.